Affiliate disclosure: This post may contain affiliate links. I may earn a small commission if you purchase through them, at no extra cost to you. Thank you!
Heads up: I'm not a doctor. These recipes are for inspiration, not medical advice. Always consult your healthcare provider before changing your diet. Sometimes I curate recipes and share them with you, keeping sugar conscious and lower carb choices in mind.
Small kitchen organization ideas on a budget start with the counter, because that is where clutter shows up first. Mail, appliances, cooking tools, and snacks all compete for the same few feet of space. The good news is you do not need a remodel or expensive gear to fix it.
These 17 ideas use trays, hooks, jars, and smart zones you can often find at home or pick up cheaply. Pick two or three that fit your kitchen, try them this weekend, and see how much calmer cooking feels. Each one is renter friendly, easy to adjust, and built for real life.
One tap tells Google to show ZeroSugarBites first in Search and AI answers.
 Add us on Google
Why You’ll Love These Ideas
- Budget friendly. Most ideas use baskets, trays, hooks, and jars you may already own.
- Renter safe. Nothing here requires drilling. Adhesive and tension options are included where needed.
- More prep space. Clearing even one square foot makes chopping and baking easier.
- Faster cleanup. Fewer items on the counter means less to move when you wipe down.
- Cozy and good looking. Organized does not have to mean bare. These ideas keep warmth and personality.
- Easy to maintain. Every idea gives each item a home, so the counter stays tidy with less effort.
Best Ideas to Try First
If you only have an hour, start here.
- Counter zones (idea 1). Giving each area one job is the fastest way to stop clutter from spreading.
- A cooking essentials on a tray (idea 2). One tray turns scattered bottles into a tidy, wipeable group.
- A tiered riser (idea 4). Going vertical adds usable space without taking up more room.
- The five minute reset (idea 17). This habit keeps every other idea working.
17 Small Kitchen Organization Ideas On A Budget Counter Free Hacks
Tired of a crowded counter? These small kitchen organization ideas on a budget show you 17 simple ways to sort, store, and simplify your kitchen space without spending too much or drilling a single hole.
Have Ingredients? Make a Sugar-Free Recipe!
Enter the ingredients you have at home and discover easy, sugar-free recipe ideas made for your everyday cooking.
Create My Free Recipe → Simple ingredients. Easy ideas. Less added sugar.
1. Divide Your Counter Into Three Zones
Look at how you actually use the counter. Most small kitchens need a prep zone, a cooking zone near the stove, and a drink or coffee zone.
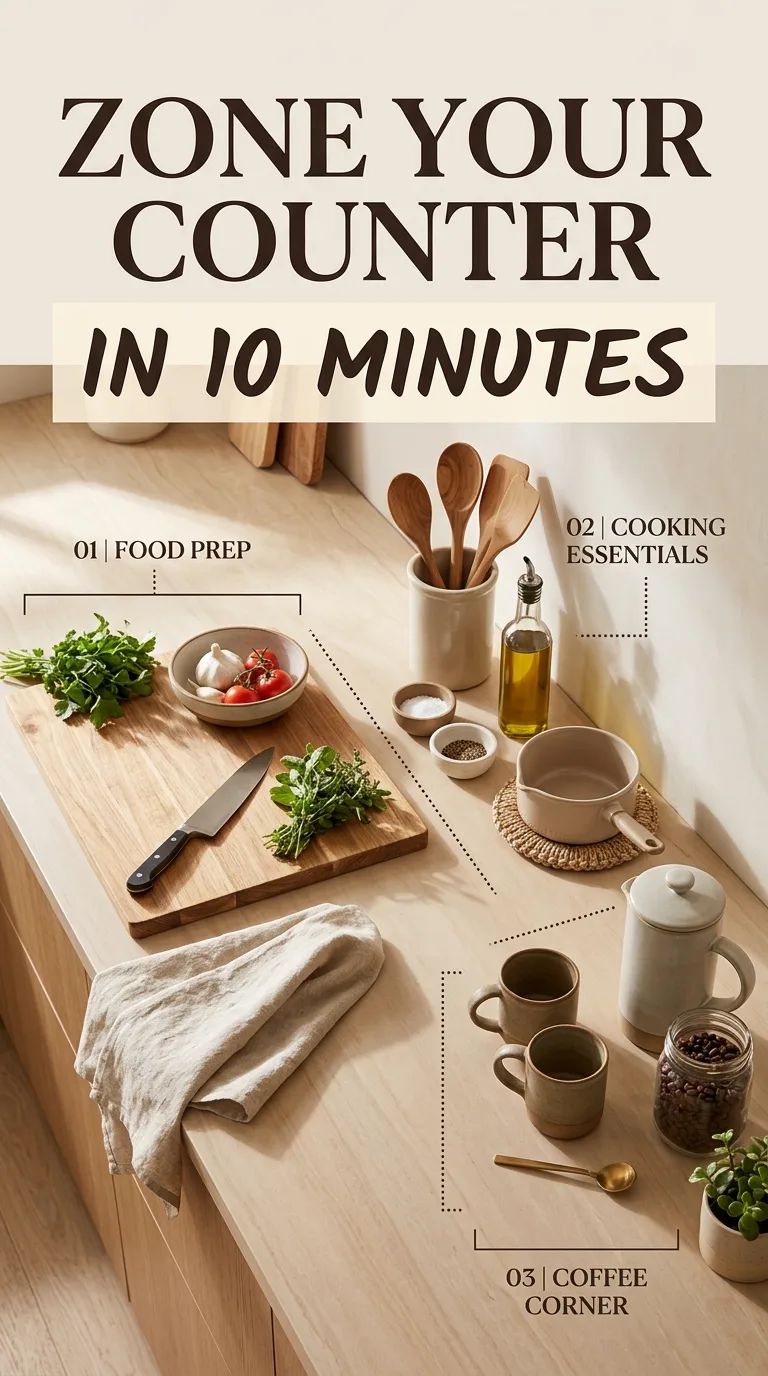
Keep only the tools for each job in that zone. Knives and cutting boards go in prep, oils and salt by the stove, mugs near the kettle.
Give your largest open stretch to prep and protect it. If something does not belong to a zone, it probably belongs in a cabinet.
2. Corral Cooking Essentials on a Tray
A small tray beside the stove stops oil bottles, salt, pepper, and a spoon rest from sprawling across the counter. It also makes wiping easy, since you lift one tray instead of six items.
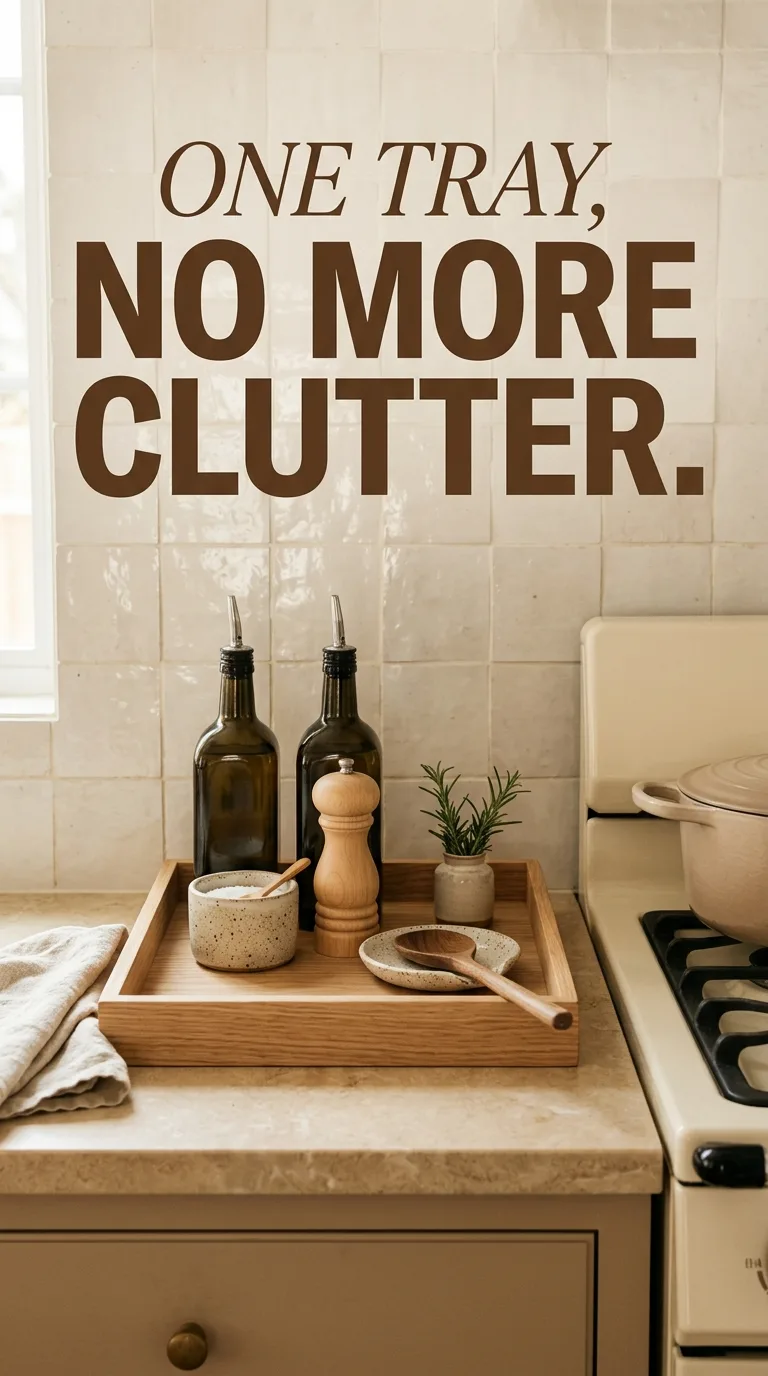
Wood, marble, or a simple metal tray all work. A rimmed baking sheet or a thrifted serving tray is a budget option.
Decant oils into matching pump or pour bottles for a calmer look. Label them so nobody grabs the wrong one mid recipe.
3. Mount a Magnetic Knife Strip
Knife blocks take up a surprising amount of counter space. A magnetic strip on the backsplash or the side of a cabinet frees that footprint right away.

For renters, choose a strip with strong adhesive backing and test it on a clean, flat surface first. Mount it where little hands cannot reach.
Keep only your three or four most used knives out. The rest can live in a drawer with blade guards.
4. Add a Tiered Riser for Stacking Space
A two level riser or corner shelf lets you store items above and below without spreading out. Use the lower level for taller items like oil bottles and the upper level for small jars or a plant.

Look for one with a narrow footprint, about the size of a dinner plate. In a tiny kitchen, a corner riser uses space that is usually wasted.
Choose a finish that matches your cabinets so it blends in rather than adding visual noise.
5. Limit the Utensil Crock to Daily Tools
A crock holds your most used spatula, wooden spoon, whisk, and tongs. That is usually all you need within reach.
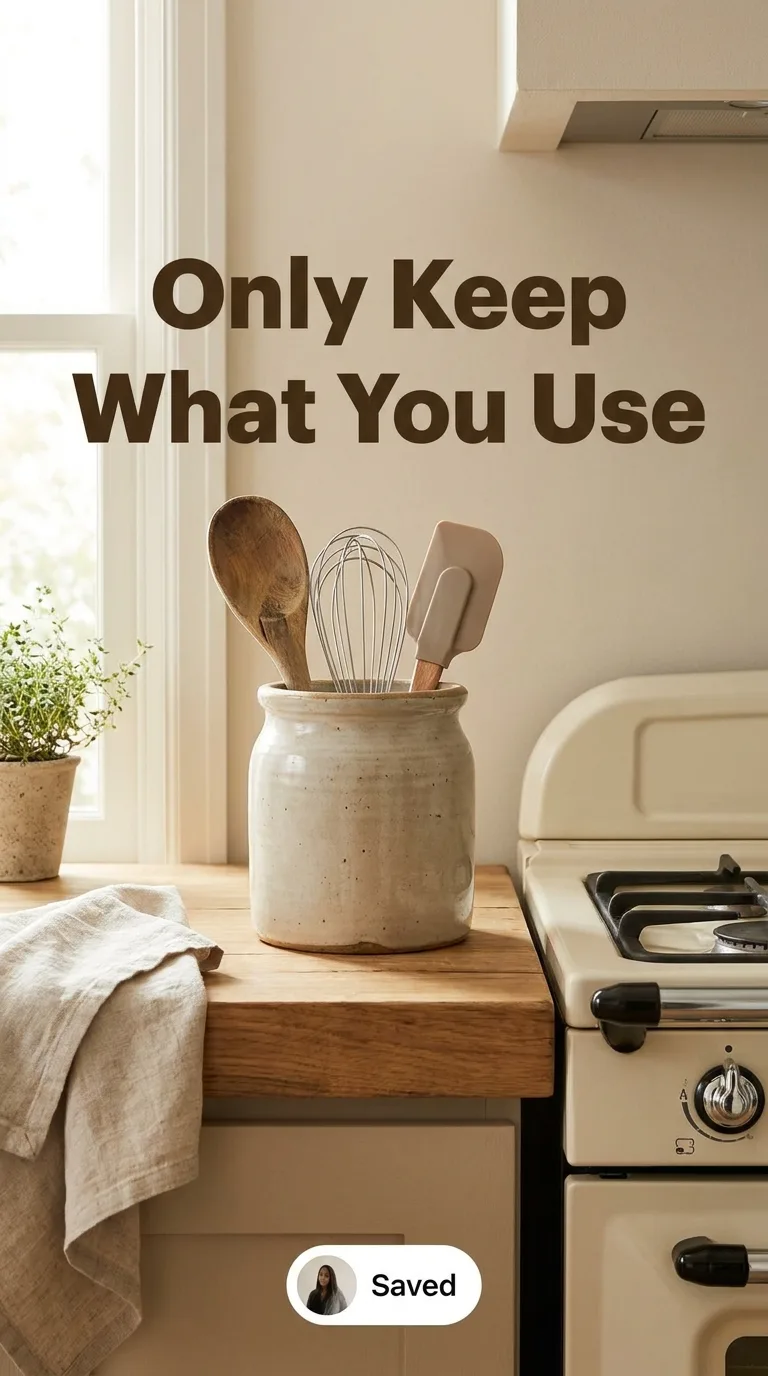
If your crock overflows, it is a sign to edit. Move the rarely used tools to a drawer and see if you miss them.
Pick a heavy base so it does not tip. Ceramic, stoneware, and stainless steel are all easy to clean.
6. Use a Rail and Hooks Under the Cabinets

A rail mounted under the upper cabinets or along the wall turns dead space into storage. Hang mugs, measuring cups, small pans, or oven mitts from S hooks.
Renters can try adhesive rails rated for the weight you plan to hang. Start light and test before loading it up.
Keep hanging items to one or two types so the rail looks intentional, not busy.
7. Build a Small Coffee or Tea Station
A tray with your mugs, tea box, and sweetener jar keeps the morning routine contained. It also keeps drink supplies from drifting across the counter.
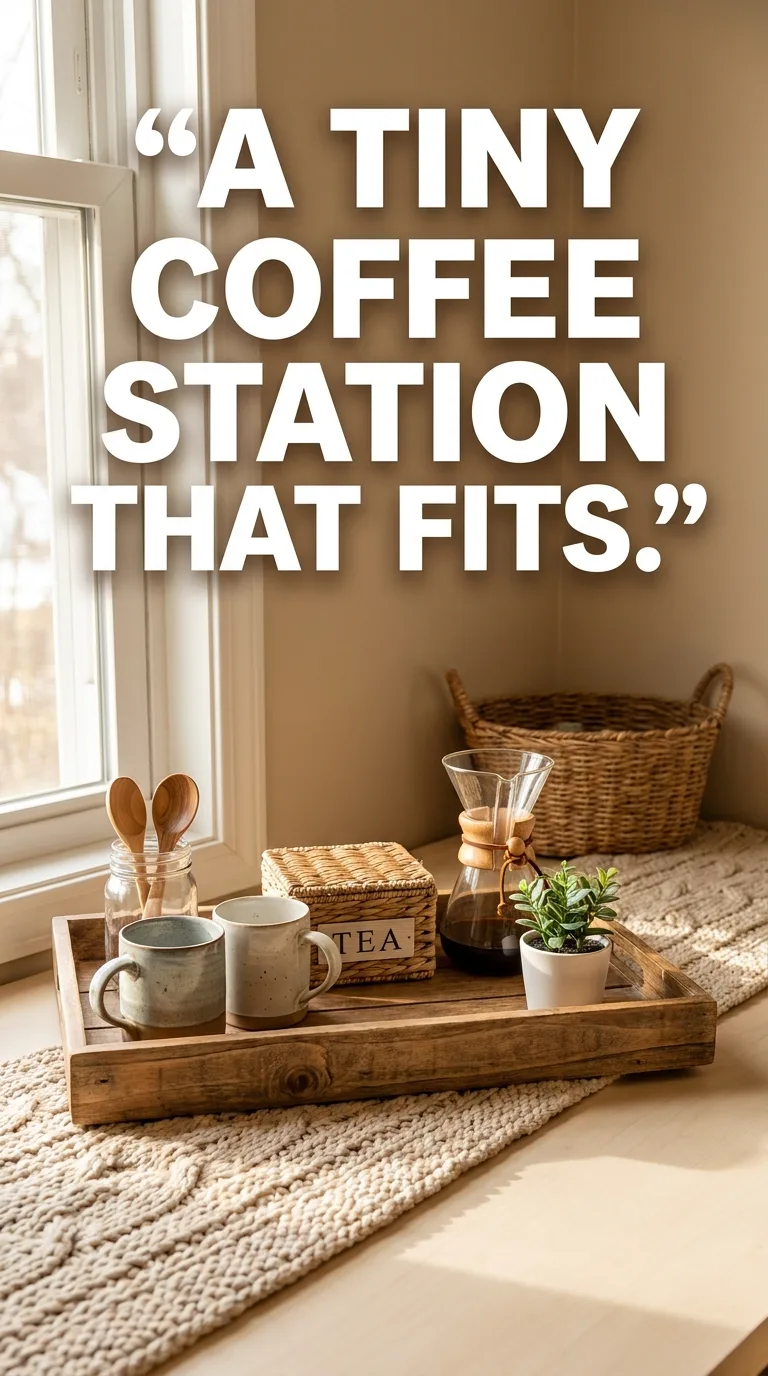
If space is very tight, use a rolling cart or a corner shelf. Store mugs on hooks to save surface space.
Add a small jar for spoons and a compact container for tea bags. Everything stays within arm’s reach.
8. Try a Lazy Susan for Oils and Condiments
A rotating tray makes it easy to reach items in the back without moving everything. It works best in corners or beside the stove.
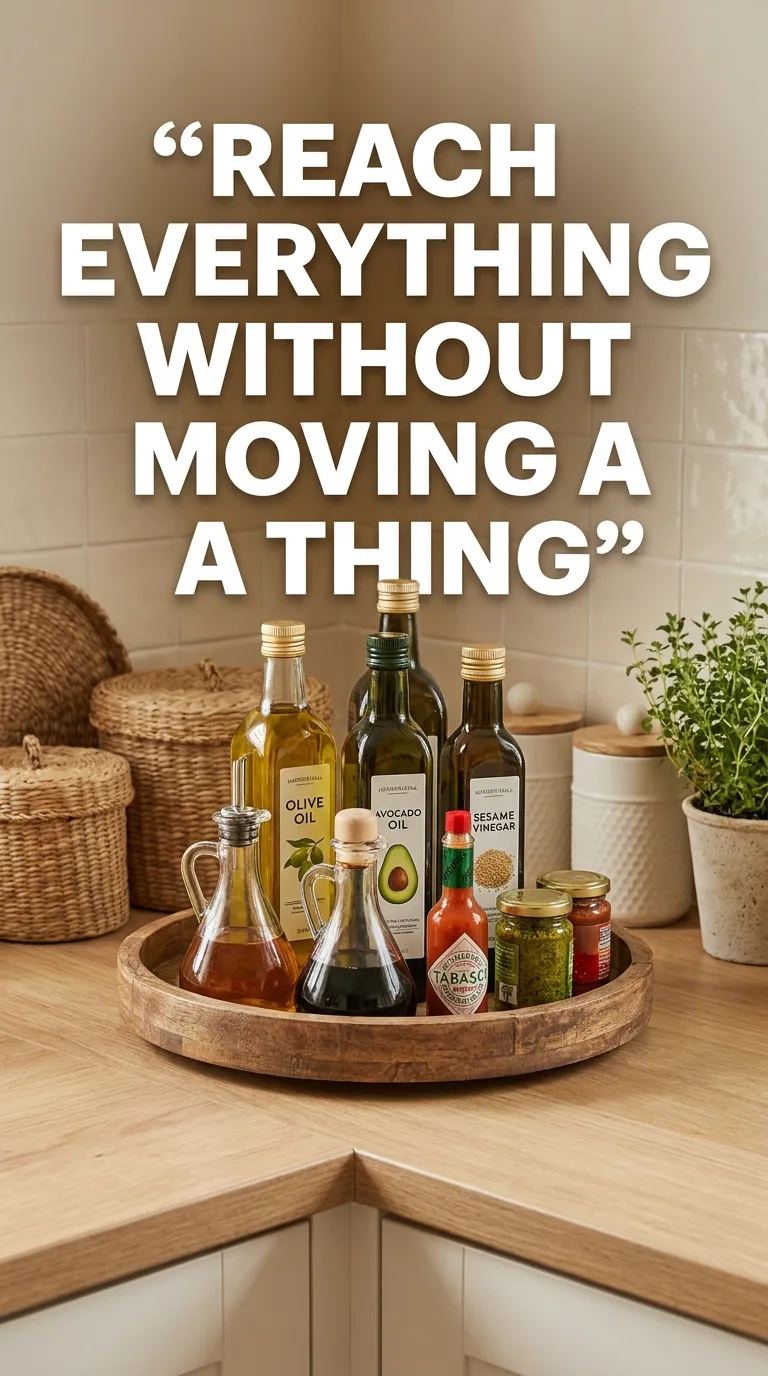
Choose a low profile one so it does not block the backsplash. Keep it to oils, vinegars, and a few frequently used sauces.
Wipe the base weekly. Sticky drips collect quickly under bottles.
9. Hang a Tiered Basket for Produce
Fruit and vegetables do not need counter space. A hanging tiered basket or a wall mounted basket frees up room while adding color and texture.
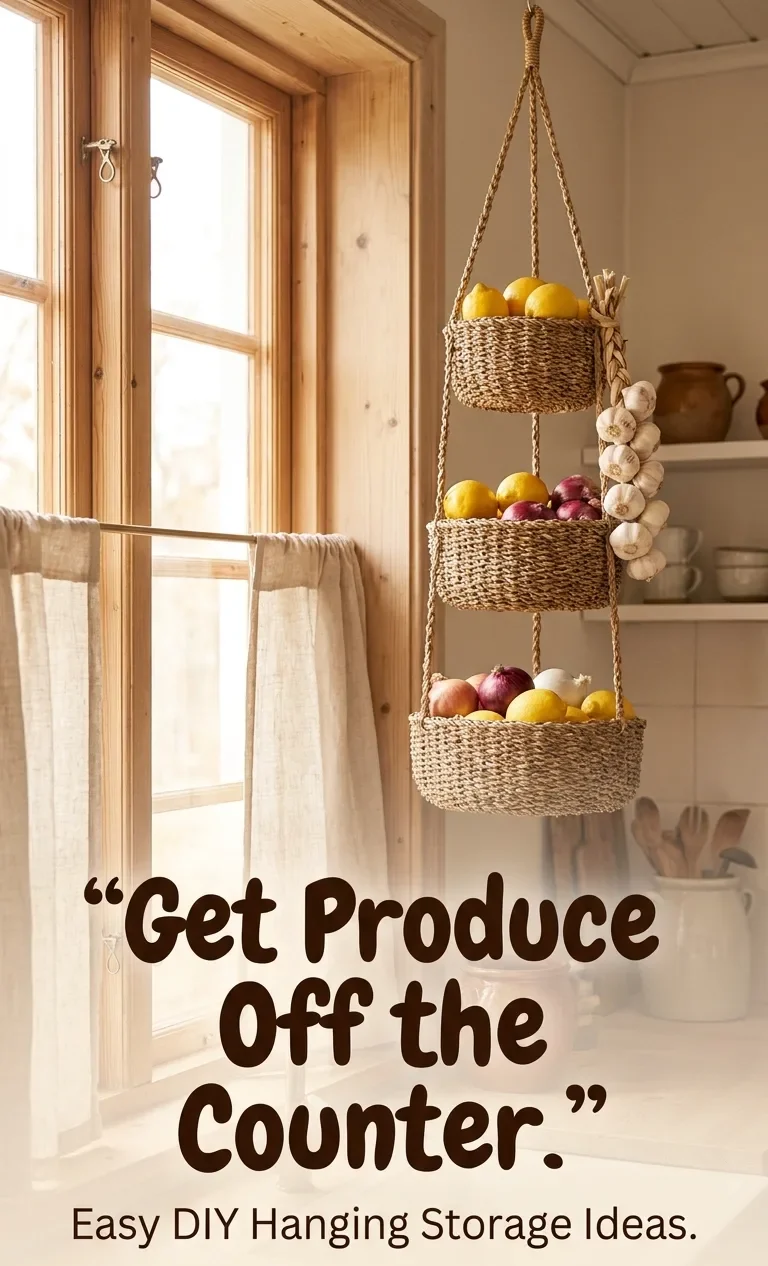
Use it for items that store well at room temperature, like onions, garlic, bananas, or lemons. Keep potatoes and onions in separate baskets.
Check your produce every few days to avoid waste and fruit flies.
10. Install an Under Cabinet Paper Towel Holder
A roll on the counter takes up a full square foot. An under cabinet holder keeps it handy and out of the way.
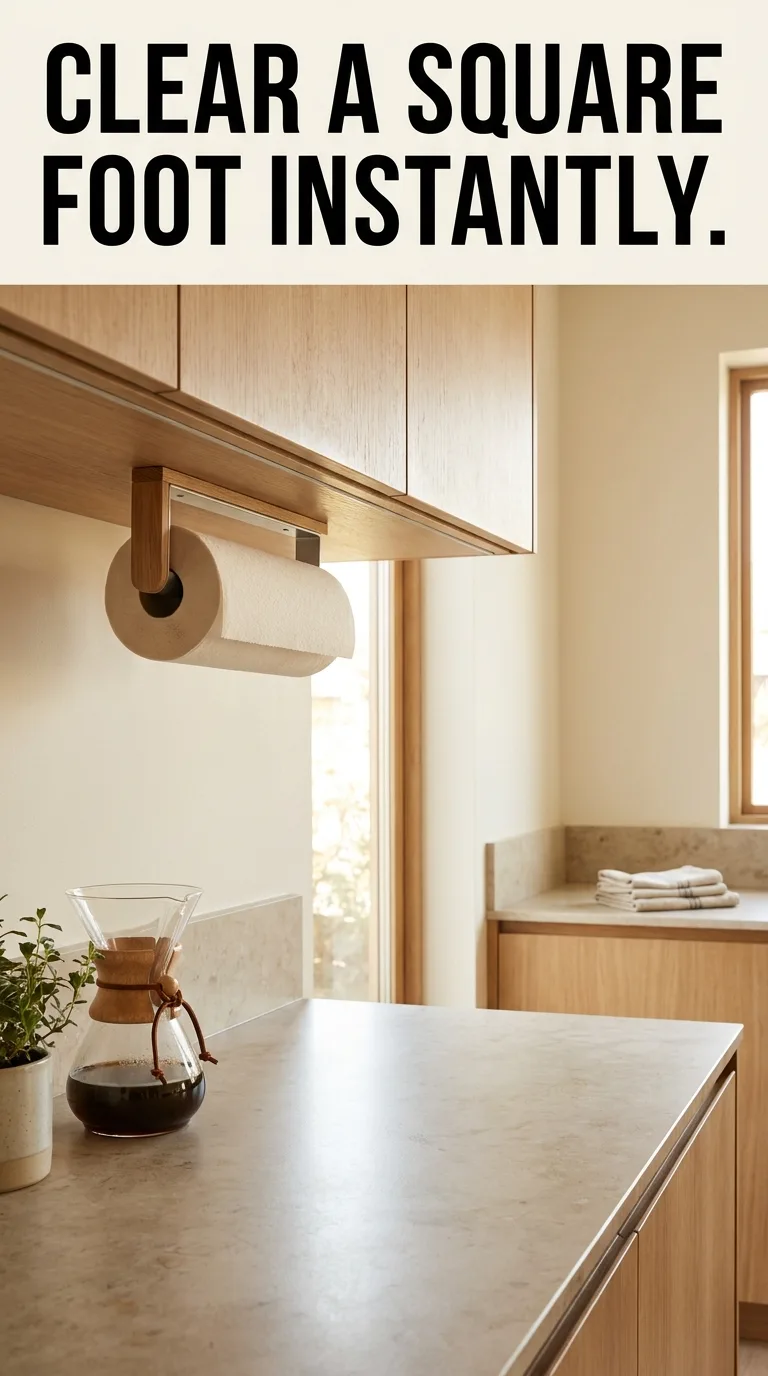
Adhesive versions work for renters. For heavier loads, a tension rod inside a cabinet door is another option.
If you prefer a cleaner look, store paper towels in a cabinet and keep a stack of folded cloth towels in a small basket.
11. Switch to a Foldable or Over the Sink Dish Rack
A big dish rack can swallow half your counter. A roll up rack over the sink or a slim vertical rack uses less space and drains straight into the basin.

If you wash by hand daily, a collapsible one stows away after use. If you only have a few dishes, a simple towel on the counter works fine.
Dry the area under the rack regularly to avoid buildup.
12. Edit Your Countertop Appliances
Keep only what you use at least three times a week on the counter. A kettle, coffee maker, or air fryer might earn the spot. The bread maker, juicer, or waffle iron can go to a cabinet or high shelf.

If you cook with an air fryer often, see these easy air fryer breakfast meals for ideas that justify the space.
For appliances that stay out, tuck cords behind them with small clips so the counter looks clean.
13. Store Cutting Boards Upright
Stacked cutting boards eat counter space. A slim rack or a tension rod against the backsplash holds them upright and lets them air dry.
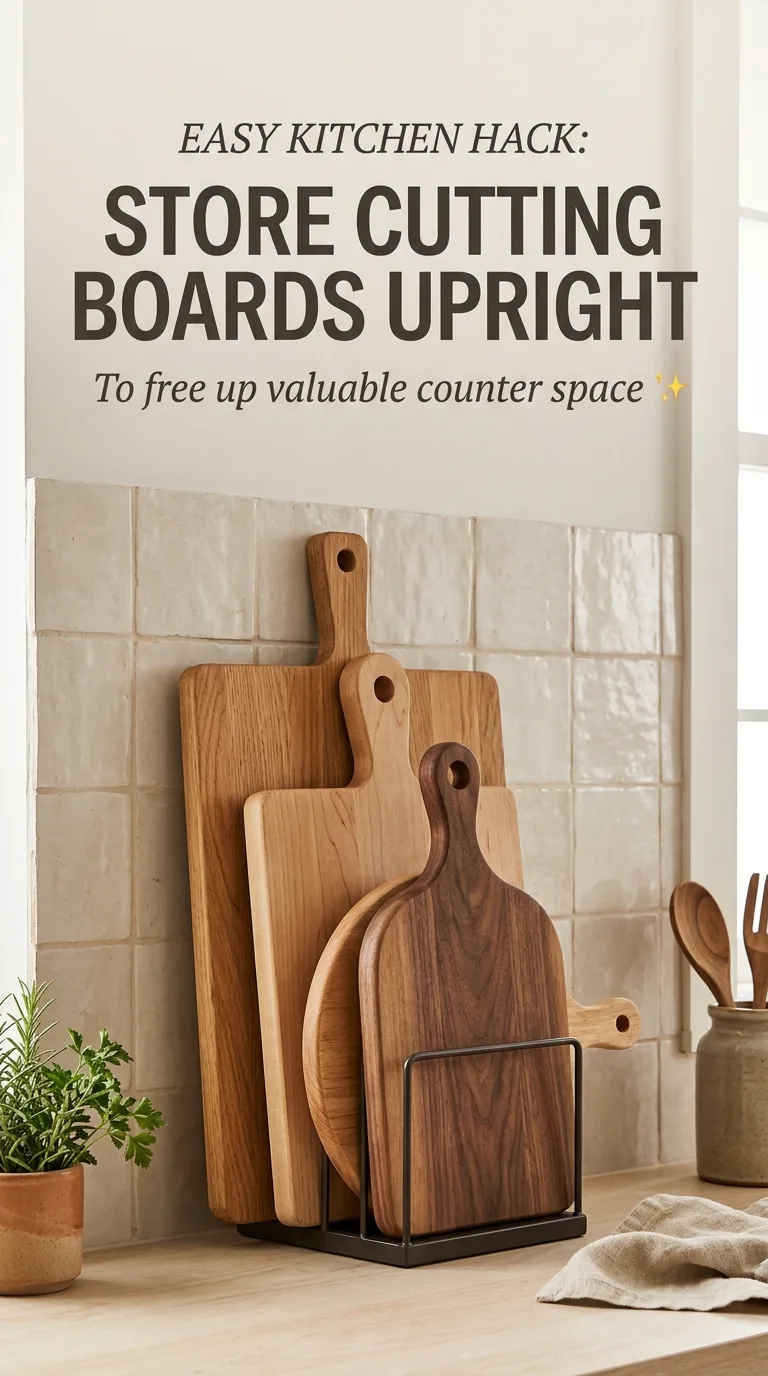
You can also store them inside a deep drawer or a cabinet with dividers.
Keep two boards out at most. One for produce and one for proteins is usually enough.
14. Use Clear Canisters for Dry Goods
Matching canisters tidy up flour, oats, nuts, or other baking staples. They also keep ingredients fresh and make it easy to see when you are running low.

Choose airtight lids and square shapes, which stack and fit snugly. Label each jar clearly, especially if you stock specialty flours or sweeteners.
Only keep out the ones you grab weekly. Store the rest in a pantry or cabinet.
15. Set Up a Sink Side Caddy
A small caddy holds the sponge, brush, and dish soap in one place. Look for one with drainage holes so it dries between uses.
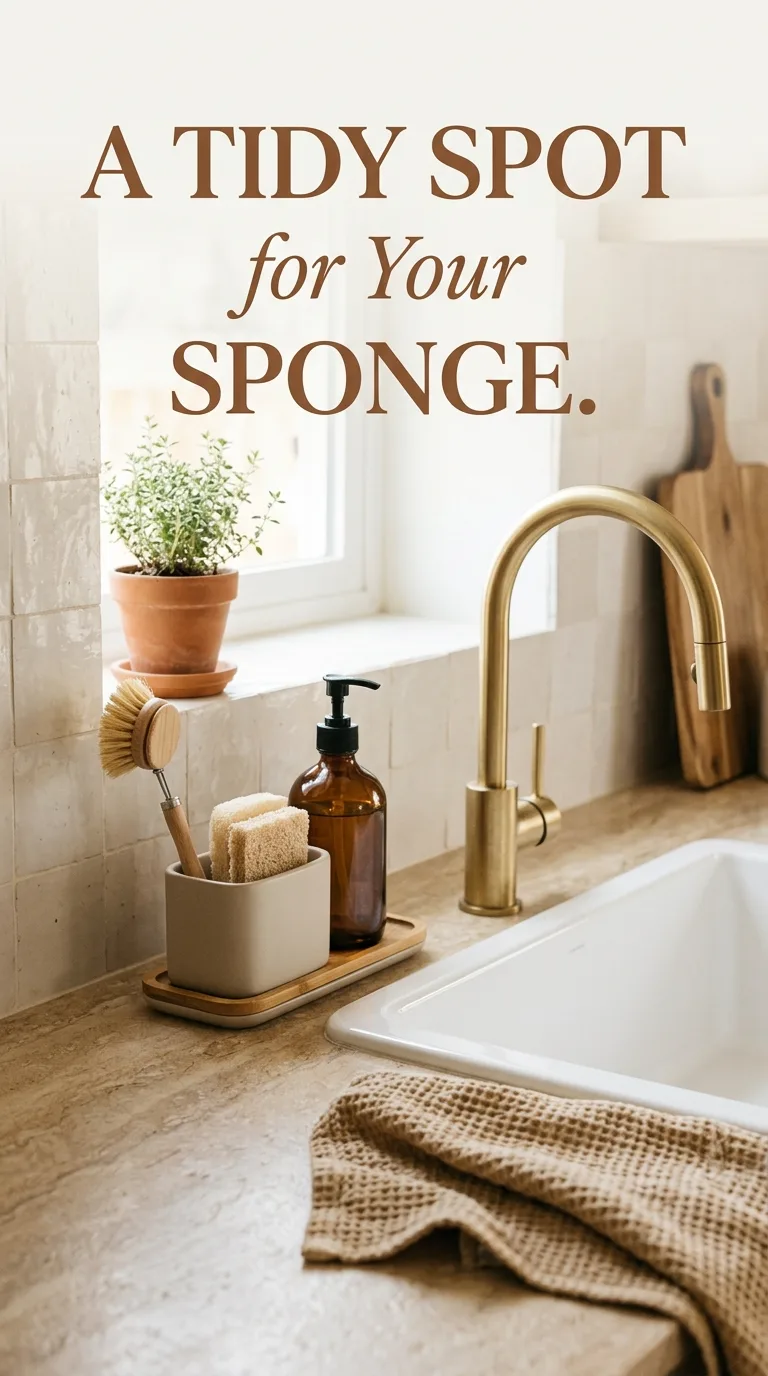
A suction or adhesive version works well in rental sinks. Keep the space around the faucet clear so water does not pool.
Replace sponges often and let them dry fully to limit odor and bacteria.
16. Create a Mini Command Center for Mail and Keys
Stray mail, school papers, and keys end up on the kitchen counter in most homes. A small wall organizer or a single basket near the entry gives them a landing spot.

Sort papers once a day. Toss junk right away, file bills, and move anything you need to act on into a single folder.
If your counter is the only option, use a shallow tray with a clear boundary so paper stays in one place.
17. Make a Five Minute Reset Part of Your Routine
Even great storage fails without a quick reset. Before bed, put items back in their zones, clear dishes, and wipe the counter.
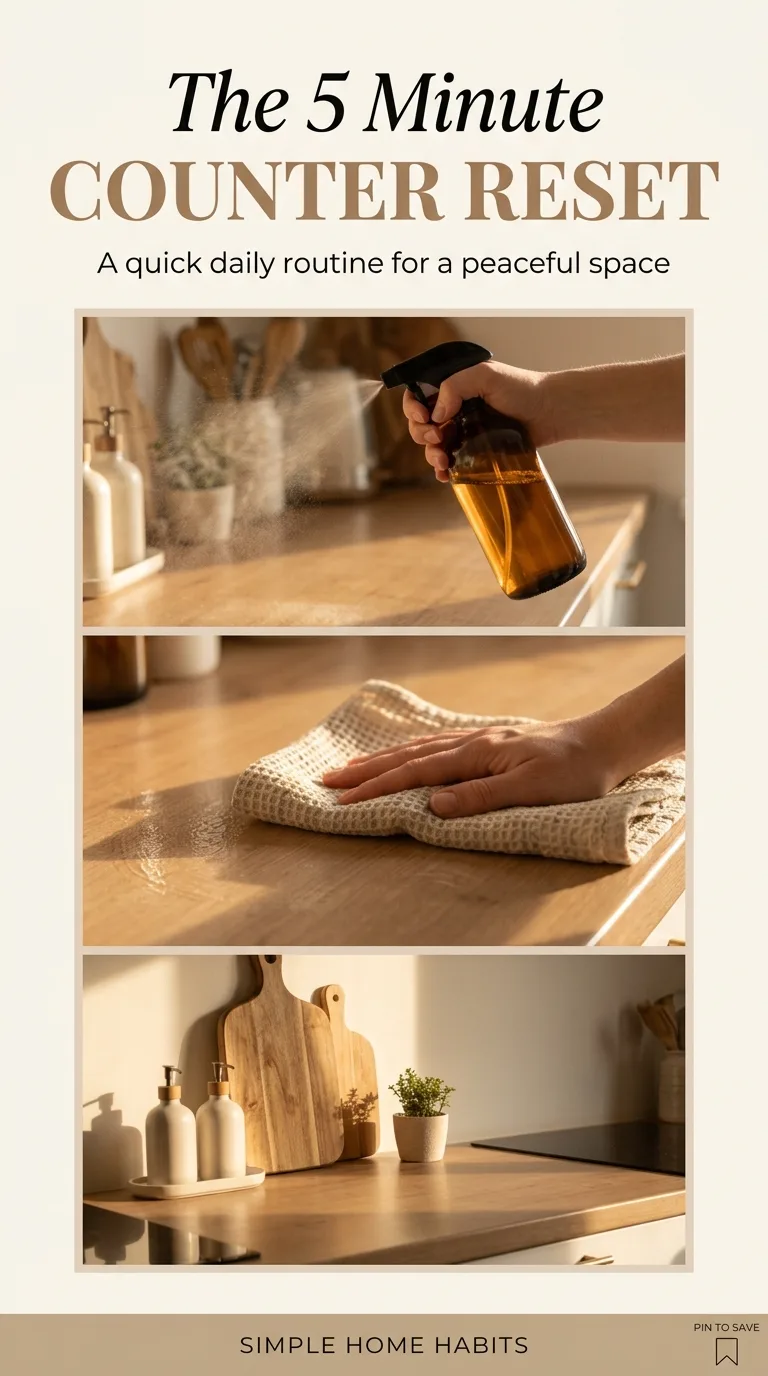
Use a mild dish soap and warm water for everyday wiping. If you use a disinfectant, follow the label and never mix cleaning products, especially bleach with vinegar or ammonia.
A clear counter in the morning is a small win that makes the whole day feel lighter.
Additional Resources
If you use a disinfectant, follow the label and read this CDC guidance on never mixing bleach with vinegar or ammonia before combining any cleaners.
Not sure what belongs on the counter? Check the USDA FoodKeeper storage guide for fruits and vegetables before you hang anything.
Practical Tips for Making These Ideas Work
- Start with a clean slate. Clear everything off, wipe the counter, and only put back what earns its place.
- Edit before you buy. Containers cannot fix too many items. Donate duplicates first.
- Measure twice. Check counter depth, height under cabinets, and outlet placement before buying anything.
- Group by use. Keep daily items within reach, weekly items on higher shelves, and occasional items in storage.
- Match your finishes. Two or three consistent materials, like wood, matte black, or white, make a small kitchen feel calm.
- Test before committing. Try an idea for a week with temporary supplies before buying the final version.
- Browse smart tools. For more practical gear, see these kitchen tools and gadgets.
Frequently Asked Questions
How do I organize a small kitchen with very little counter space?
Start by clearing everything off and putting back only daily items. Use vertical space with rails, wall shelves, and hanging baskets. Divide what remains into zones so each area has one purpose.
What should stay on the kitchen counter?
Keep items you use most days, such as a coffee maker, a utensil crock, and a cooking tray. Appliances and tools you use once a week or less can move to cabinets.
How can renters organize a kitchen without drilling?
Use adhesive hooks, tension rods, freestanding risers, over the sink racks, and rolling carts. Check weight limits and test adhesive on a hidden spot before committing.
How do I keep my counters clutter free long term?
Give every item a home and do a short reset each evening. Review the counter once a month and remove anything that has crept back without a clear purpose.
Are matching containers worth it?
They help most when they are airtight, stackable, and clearly labeled. Matching jars also create a calmer look, but you can start with mismatched ones and upgrade slowly.
Small kitchen organization does not need a big budget or perfect storage. A few smart zones, vertical space, and a quick nightly reset can make your counters feel twice as big.
Try one idea today and add another next week. If this list helped, save it to your Pinterest board and share it with a friend who is tired of cluttered counters.